WEEK 6
- Shannon Taylor
- Feb 13, 2025
- 2 min read
Updated: Feb 22, 2025
Flower shader...
Starting this week, I really wanted to dig into the flower shader. My goal was to get rid of the "dirt," get a color gradient through the petals, fully utilize the subsurface, and get a cell pattern in the petals.

I began by adjusting various settings in my skydome and spotlight, then experimenting with the subsurface scattering. I used a bright cyan to better see where my color was showing up and how it interacted with the lights.
Shader Iterations
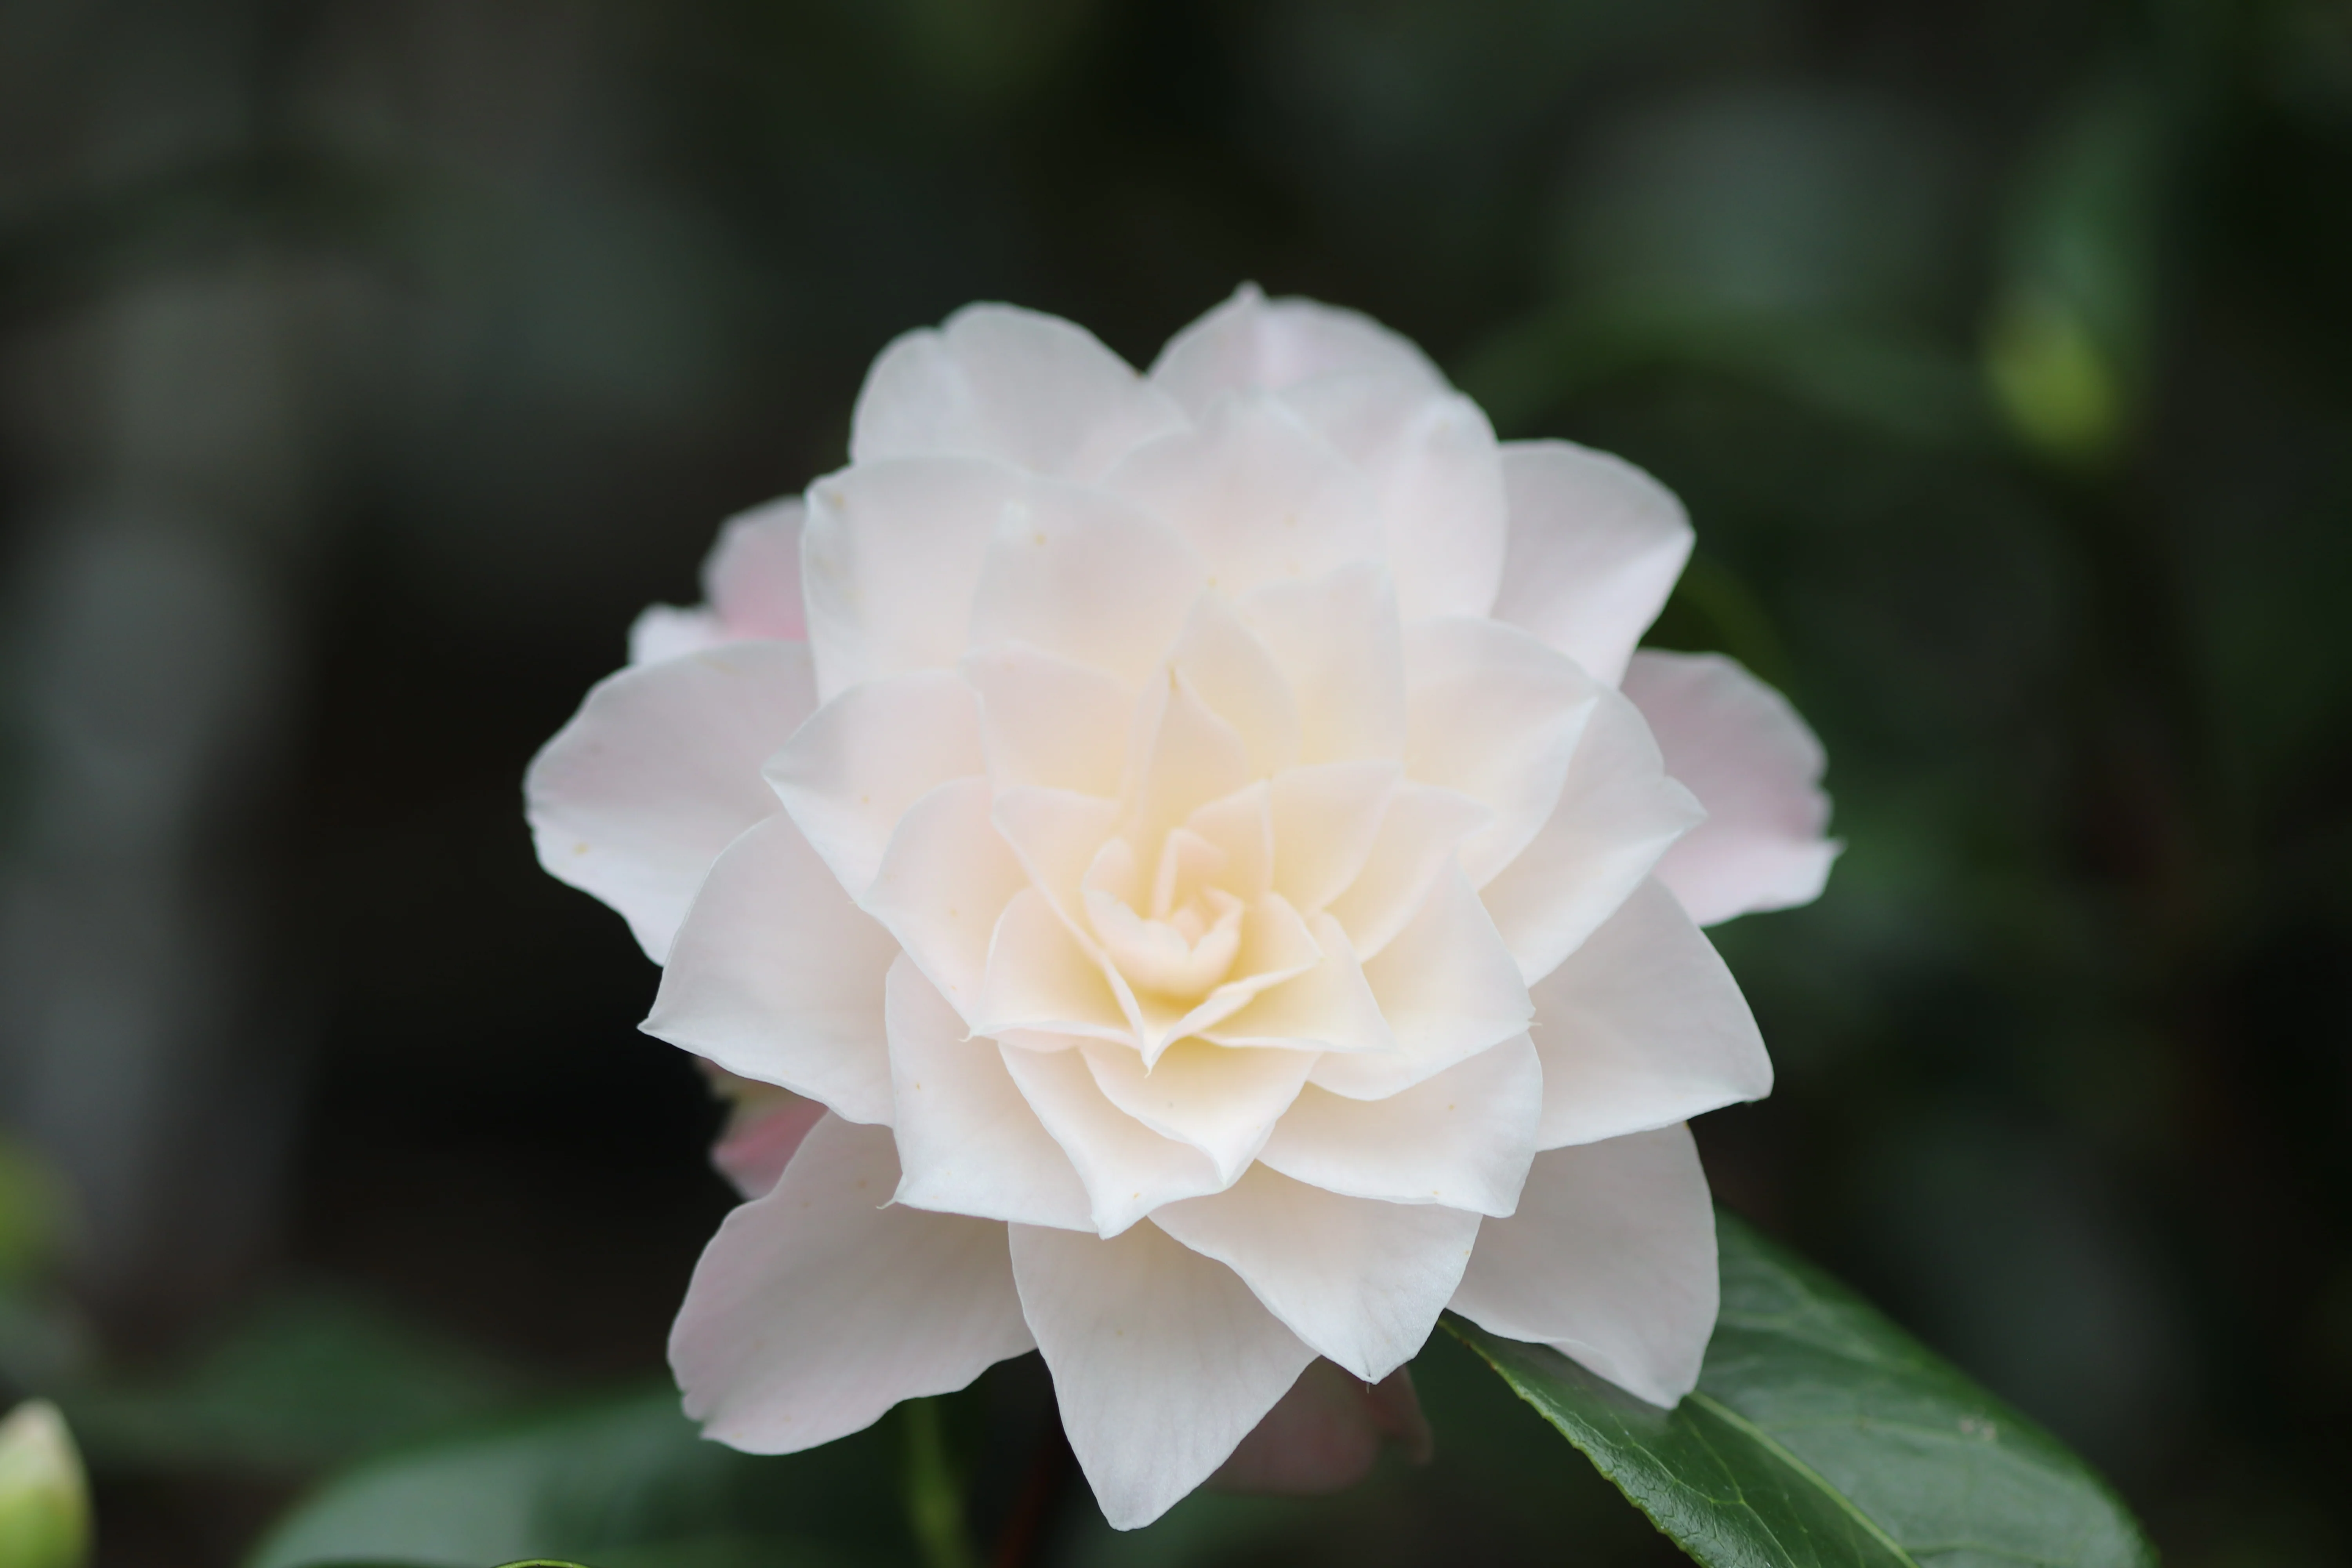
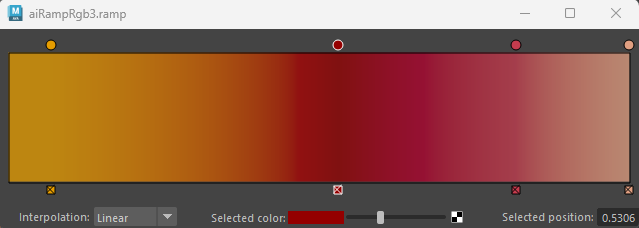
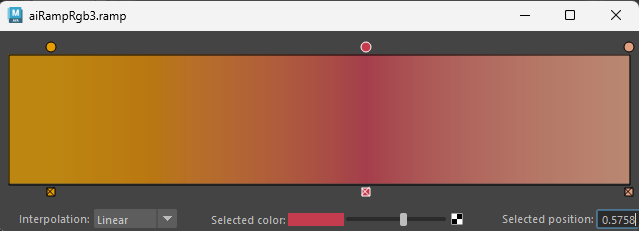
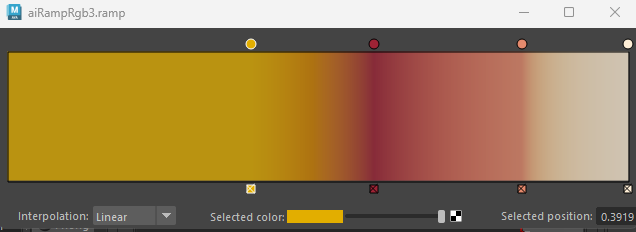
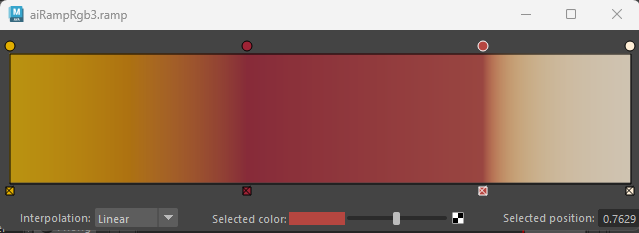
When the SSS improved, I went on to color variations. The overall project is heavy on yellow, orange, and pink. I gathered a few reference images of camellias with the color our team was going for. I saw that the petals generally have yellow at the base, then pink, and most of the petal is white. To get this color variation, I tried different variations of color ramps.
Color reference and color ramps
Shader color variations
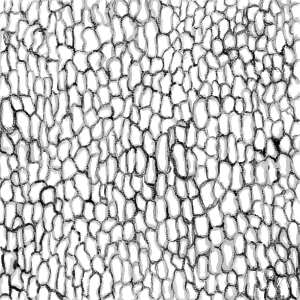
The shader was mostly there, but I wanted to add the cell pattern. I looked through photos of the cell membrane of flower petals through a microscope, then used what I saw to draw my own texture I later plugged the map into the sheen node with the intention of giving the surface a velvet-like tactile quality while showing the cell detail.
Cell reference Cell texture map
Lighting the scene...
My next hurdle was the lighting shots 1-3. I went in and tested different angles with the spotlight and skydome. I wanted the camera to pick up on any overlapping of petals, and make the shadows diffused enough to make the flower appear soft.
Shot 2 lighting variations
Setting the scene..
Shot 1 needed a thorough revamp, which began with reference for the arrangement of plant life surrounding lakes.
Shot 1 set-up reference









Comments