WEEK 7
- Shannon Taylor
- Feb 19, 2025
- 2 min read
Updated: Feb 22, 2025
With the feedback I received this week, I had many tweaks to make, but all of them small. I needed to work with the flower shader, fix the reflections on the water droplets, make sure AOVs are functioning properly, and fix the occlusion layer for compositing,
FLOWER SHADER...
The main comment on the flower shader was that the cell pattern in the petals was too noticeable and shouldn't go through the whole petal.
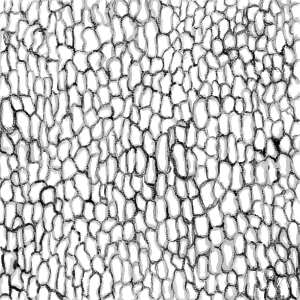
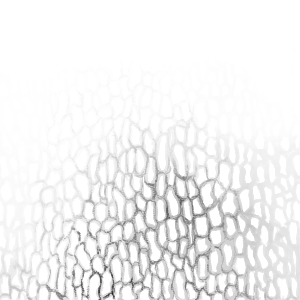
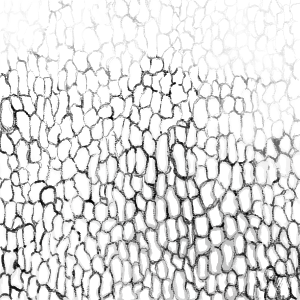
To start, I edited the texture map to have the most contrast at the base, then fade to lower contrast at the top. I tested how the first edit looked in the renderer, then restored some of the lost contrast so enough of the patterning can be seen.
Original map First edit Second edit
Going into Maya, I started changing out the maps and realized I had a worse understanding of the layered texture node than I thought.

At the very end of last week, we found that the shader I exported only worked on the specific flower model I built it on, and only in that specific file. After going through different possible work arounds, I resorted to rebuilding the shader in the scene files for shots 1 - 3.


When I originally called in the layered texture node, the green color was default and didn't seem to be affecting the overall look, so I ignored it. I'm not sure why it didn't change the color of the first model, but after plugging a color ramp into the color, I realized my mistake. The ramp was much more prevalent, which ultimately gave me more control.
Having learned about the node, I then experimented with the order of my images and ramp within the layered texture. I wanted to establish how the positioning of each element in relation to the other affected the overall look.
I made adjustments with the blending modes and saturation in the color ramps, looking for something more subtle.
After editing the flower shader, I wanted to address my occlusion layers. The layer I set up last week was done incorrectly, so I built it again with Alice to give me feedback. Once I got something useable, I separated the flower and droplets into their respective occlusion layers.
Flower occlusion Droplet occlusion
SETTING THE SCENE
Shot 1 wasn't working for us previously, with most comments made on the shot being critique. The team decided to try a new composition, and keep or scrap shot 1 depending on the professors' feedback.
Jenson's idea was to open with the camera pointed to the water with flower reflections scattered around the center. A droplet would then fall into the water and the resulting ripples break up the reflections. Eva put together a quick water sim and passed it off to me.
With Eva's footage, I put together a rudimentary environment to better visualize the concept.
New shot 1 concept
Based on professor feedback, we opted to cut shot 1 altogether and instead open with shot 2. This would give us less to worry about while allowing more focus on perfecting each element.


Comments